Handling Touch Gestures in UIKit
Table of Contents
Hey everyone! In this post, I want to talk about how we can add and manage different gestures in UIKit. This post will be updated as I explore more gesture interactions. When needed, I’ll also touch on accessibility considerations, especially for VoiceOver.
Long Press Gesture#
UIKit handles long press gestures using a class called UILongPressGestureRecognizer. You can attach it to any UIView using the addGestureRecognizer() method.
With UILongPressGestureRecognizer, you can configure:
- The action that will be executed (this method must be marked with
@objc), - The required duration before the gesture triggers,
- And other options, which you can explore through the class’s available properties and methods.
Gesture States#
The UILongPressGestureRecognizer can be in one of several states:
.possible: The default state before the gesture has been recognized..began: The gesture has met the minimum duration and has started..changed: The user’s finger has moved while still pressing..ended: The user has lifted their finger, ending the gesture..cancelled: The system canceled the gesture (e.g., an interruption)..failed: The gesture didn’t meet the criteria for recognition.
Example#
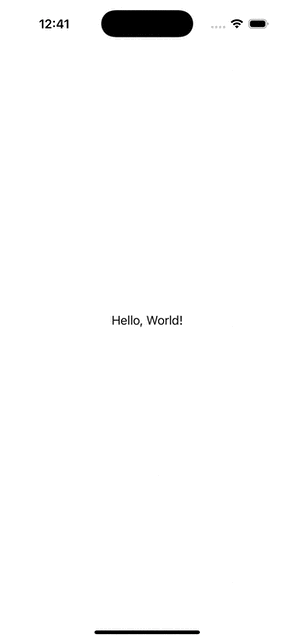
Here is a simple example of a label with an attached long press gesture recognizer:
import UIKit

class ViewController: UIViewController {

    private lazy var label: UILabel = {
        let label = UILabel()
        label.translatesAutoresizingMaskIntoConstraints = false
        label.text = "Hello, World!"
        label.textAlignment = .center
        label.font = .systemFont(ofSize: 24, weight: .medium)
        label.isUserInteractionEnabled = true // Required to detect gestures on the label
        return label
    }()

    override func viewDidLoad() {
        super.viewDidLoad()
        setupUI()
        setupLongPressGesture(for: label)
    }
}

private extension ViewController {
    func setupUI() {
        view.backgroundColor = .systemBackground

        view.addSubview(label)
        NSLayoutConstraint.activate([
            label.centerXAnchor.constraint(equalTo: view.centerXAnchor),
            label.centerYAnchor.constraint(equalTo: view.centerYAnchor),
        ])
    }

    func setupLongPressGesture(for view: UIView) {
        let recognizer = UILongPressGestureRecognizer(target: self, action: #selector(handleLongPress))
        recognizer.minimumPressDuration = 0.5 // Customize duration if needed
        view.addGestureRecognizer(recognizer)
    }

    @objc func handleLongPress(_ gesture: UILongPressGestureRecognizer) {
        switch gesture.state {
        case .began:
            label.text = "Long press!"
        case .ended:
            label.text = "Hello, World!"
        default:
            break
        }
    }
}
This is a great starting point for adding more complex gestures or chaining interactions. In future updates, I’ll cover tap gestures, swipes, and how to handle VoiceOver interactions effectively.
Thanks for reading!